
TUTORIAL - Vintage Barbie Inspired Lanai Wireless Bra
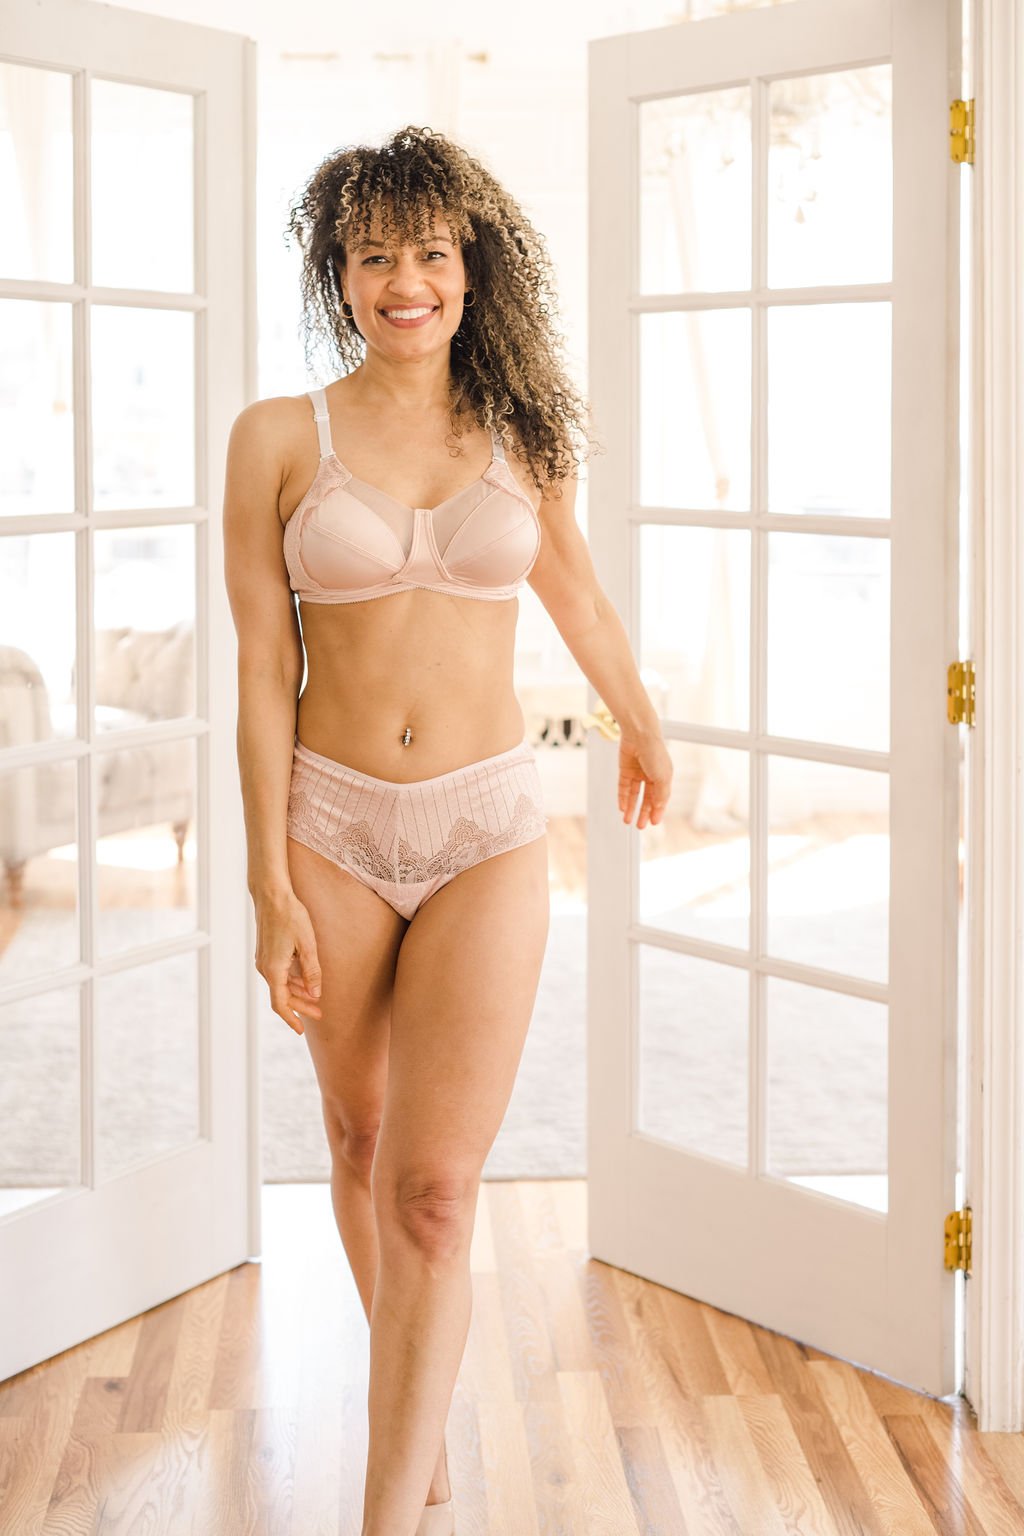

Make your own romantic and very feminine Lanai Wireless Bra by making just a couple of changes to the original pattern pieces. This is a great option for those with larger cups who need the full coverage but want a more playful look. Check out the details below!
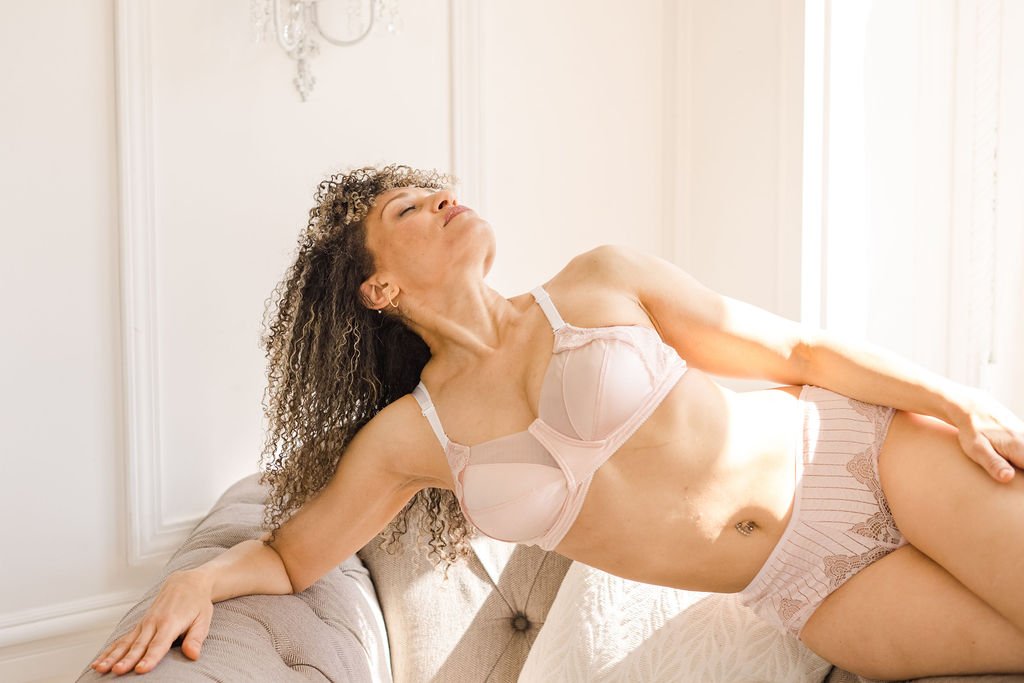
The key to this lovely version of the Lanai Wireless are 3 main style changes: splitting the upper cup, adding an external powerbar, and using the cross cradle. Since the powerbar and crosscradle pattern pieces are already included with the pattern, the only real change is the upper cup!
STEP 1
With your well fitting bra pattern pieces, begin with the upper cup and remove the seam allowance. Start by marking 1/2” (1.2cm) up from the bottom Center Front corner seam. Then mark 3/4” (2cm) down from the top of the powerbar seam. Draw a straight line between marks. True the seams then add seam allowance back on.
Keeping the new line straight produces a very gentle curve on the body. Drawing a slightly curved line will produce a curvier style on the body.

Straight Line = slight curve edge on body

Curved Line = curvy edge on body
*Bonus - if you have a lot of inner or upper fullness of breast tissue, you can take this opportunity to add a bit of room by increasing the curves - without changing the cup size.
STEP 2

Cut out the split upper cup in your fabrics of choice. Our sample has Sheer Cup Lining (on fold) on the upper portion and Cup Lining + Lingerie Satin on the lower portion. Sew the upper cup pieces together.
STEP 3
Construct the rest of the cups as usual. Using the internal sling, cut out 2 pieces in the stretch lace of your choice. Lay the stretch lace over the cups and baste together. You can leave the scalloped edge loose (as in the photo) or stitch it down.
STEP 4

Construct the Cross Cradle following instructions.
If you don’t have a matching fabric for the back wing (like the sample), you can add a bit of coordinating stretch lace at the side seam to tie the colors together. Just remember to check the stretch percentage of your stretch lace. If the lace stretches less than the powernet, it’ll limit the stretch of the bra and make the band tighter.
STEP 5
Construct the rest of the bra according to instructions.